BXT4 operation and settings
A summary of the main steps from the BXT4-13/16/19 operating manual. The full manual (in Polish) can be downloaded from Files and videos. For questions about operation, call +48 500 60 66 50.
Operating modes
The mode is selected on the touch screen: Operating mode → MAN / SEMI / AUTO → confirm.
MAN (manual)
You hold the tension button until the tension is high enough. Then you press the weld button and the tool welds and cuts the strap. For varied loads, soft and hard.
SEMI (semi-automatic)
Factory setting. You hold the tension button until the set force is reached, then welding and cutting start by themselves. You can also weld earlier with the weld button. For repeatable loads.
AUTO (automatic)
A short touch of the tension button is enough. The tool tensions to the set force, welds and cuts the strap with no further input. For large runs of identical loads.
Strapping step by step
- Prepare the toolInsert a charged battery, check that the tool is set up for the width of your strap, and select the mode, tension force and weld time.
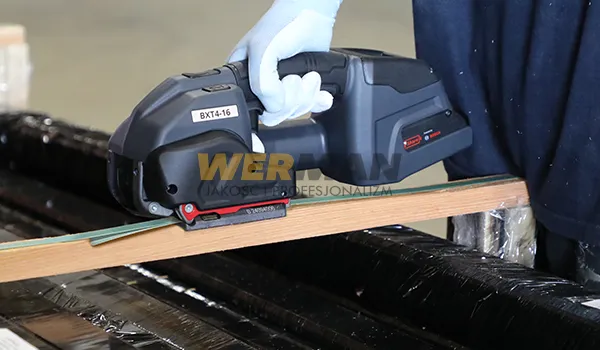
- Position the strapPass the strap around the load. With your left hand, hold both layers on top of the load. The strap end must be underneath and stick out about 15 cm in front of your hand.
- Insert the strap with the triggerPull and hold the trigger (activator), push both layers fully in (strap from the dispenser on top). Release the trigger. The strap end should stick out about 5 cm.
- Move your hand away and tensionHold the tension button until the bar on the screen is full. The tension speed depends on how hard you press.
- Weld and coolingThe tool welds the strap and cuts the top layer. A sound and a green screen backlight signal the end of cooling.
- Remove the toolPull the trigger and slide the tool out from under the strap, turning its rear to the right. Check the weld.
If you remove the tool before cooling has finished, the screen turns orange and the weld may be weak. In that case the strapping cycle has to be repeated.
Checking the weld
Check the weld visually after every strapping cycle. A load with a bad weld must not be transported.
- Good weld: the whole surface is evenly welded, no material squeezed out at the sides.
- Incomplete weld: only part of the surface is welded, so the weld time is too short.
- Overheated weld: melted material is squeezed out at the side, so the weld time is too long.
If the weld is still bad after adjusting the time and changing the strap, the tool needs to be checked by a service workshop. Usually a worn toothed plate or welding unit parts are to blame.
Touch screen settings
| Setting | How to do it and what to watch for |
|---|---|
| Tension force | Tension force button → move the blue bar → confirm. The value is shown in N or lbf. Ranges: BXT4-13 PET 400-1200 N, BXT4-16 PET 900-2500 N, BXT4-19 PET 1300-4500 N (lower for PP). Start with a lower force and increase it until the load is stable. |
| Strap type | Strap type → PET or PP. With PP the tension wheel starts more slowly and the force is reduced, so less strap dust builds up in the tool. |
| Weld time | 7 steps, selected with the dots around the clock symbol. Thicker strap usually needs a longer time. Adjust it based on how the weld looks. |
| Force unit | Settings → Tension force unit → N or lbf. |
| Favourites | The star switches to a second, independent set of settings (force, mode, time, strap). Useful when one workstation handles two types of load. |
| Screen lock | Settings → Button lock → four-digit code (given in the manual, section 4.7; a service workshop can change it). A red padlock appears on the bar. Favourites still work while the lock is on. |
| Sleep mode | After about 5 minutes without use the screen switches off to save the battery. It wakes up when you move the trigger. |
| Language | Settings → Language. |
| Service indicator | Settings → Service shows how many strapping cycles are left until the inspection. The message Service! Change wearing parts means the wear parts need replacing (more: BXT4 service). |
| Cycle counter | Settings → Cycle counter (after entering the code) shows the total number of strapping cycles done with the tool. It is worth including this figure when you send the tool for service. |
Battery and charging
Based on the BXT4 manual (section 4.1) and the charger data.
- Charging: a flat battery reaches about 80% in 48 minutes and full charge in about 65 minutes. It can be topped up at any charge level.
- Charger LEDs: green on means the charger is ready or the battery is full; green flashing means charging; red on means the battery temperature is outside the charging range.
- Temperature: charge ideally at a battery temperature of 15-40 °C; the charger works at an ambient temperature of 0 to +35 °C. The equipment can be used and stored between -20 and +50 °C.
- Fitting the battery: it must click in at the second stop. At the first stop it stays in the tool but has no contact, and the screen stays dark.
- Charge level: shown on the screen as a percentage. Below 10% the tool shows that the battery needs charging.
- Longer breaks: if the tool will not be used for several days, take the battery out and keep it in the charger.
Safety at work
- Always wear safety glasses, cut-resistant gloves and safety footwear.
- Keep your hands out from between the strap and the load during tensioning; keep other people out of the work area.
- Do not stand in line with the strap, as it can break and snap back during tensioning.
- The weld area is hot, so do not touch it with bare hands.
Emergency stop (e.g. when something is trapped by the strap): press the trigger, the tension button or the weld button and the motor stops immediately. The trigger also releases the strap tension. After welding, cut the strap with strap shears.
Use only the Bosch batteries and chargers specified by the manufacturer.